Before Shots
Our greenhouse has undergone many incarnations over the years. It was delivered and set-up with no instructions attached. We quickly learned that a greenhouse without water, electric or venting is essentially a large cold frame. For many years, it was a way to relieve the garage from all my tools, pots, and garden miscellaneous so my husband could have the garage back.

Greenhouse Covering Experiences
Plastic
For the first few years, we used plastic purchased on a large roll from Home Depot. Re-covering became a yearly event as the plastic baked off where the sun tickled the plastic over the metal frame. A few good winter wind storms caused sections to lift off allowing everything to become saturated with water. Be it cold or warm outside, the greenhouse was either frigid or sweltering on the inside.
Polycarbonate
Replacing the roof with 4mm twin-wall polycarbonate was expensive. Hauling panels home on the truck roof was cumbersome. Power tools are required to cut panels to size requiring proper masking due to particle matter released into the air. Clear acrylic panels allow a significant amount of light in. Hot spots caused leaf burn on tender tropicals. Books, painted pots and boxes faded wherever light touched them. Twin wall provided better insulation than the plastic, but something was still missing.
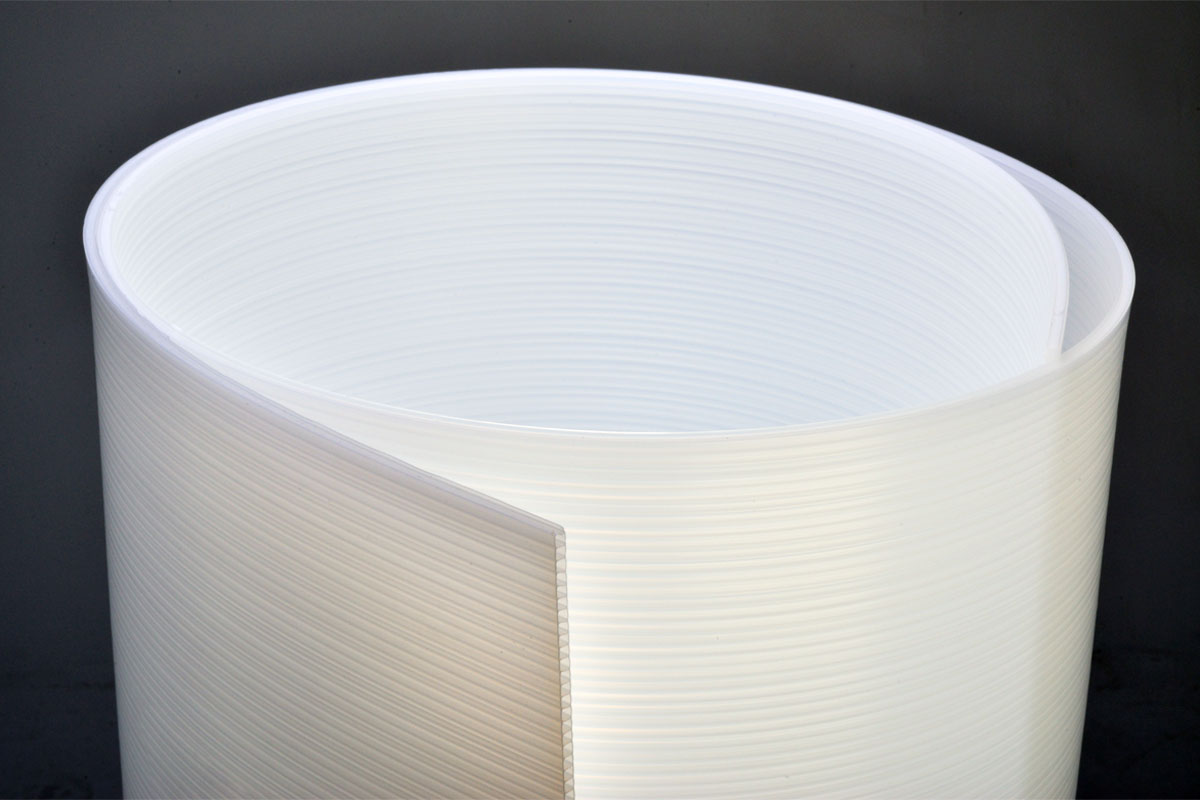
Solexx Panels
I was introduced to Solexx panels at the Yard, Garden and Patio show, a local garden show sponsored by the Oregon Association of Nurseries. The information provided regarding lighting, shadows, and hot spots all came together. The Solexx panels distribute a soft, diffused bright light which touches the underside and top of every leaf. Everything that Solexx sells for its greenhouses are white. Until now, my greenhouse has had black metal shelving inside. Black absorbs light and white reflects light. Once this concept really sunk in as to how it affects the plants, I have been converting everything to white inside the greenhouse. The ambient temperature difference inside the greenhouse was noticeable from day one. The air temperature is temperate and stable. The fading of stored hard goods has reduced.
Figuring The Measurements
Before ordering panels, it is important to measure your existing frame. Rob drew these diagrams to calculate the final amount of the panel material needed to cover the greenhouse.
TIP: The direction of the channels will determine the total amount of panel material to order. It might seem less expensive to cover the roof or sides with the channels facing horizontally. To guarantee the best air flow and retard water collection in panels – causing green sludge to form – place the panels with channels facing vertically.
Tools Required
• Box knife and sharp blade
• Measuring tape or ruler
• Caulking gun
• Tube of clear silicone caulk
• Cordless drill with screwdriver attachment or ratchet set
• 4’ 1” U trim
• T-square
• Rubbing alcohol
• Cotton balls
• Black sharpie marker
• Plastic gloves
• ¾” self-drilling white metal screws (100 ct)
Laying It All Out
The 3.5mm panels arrived in a roll. On a clear, sunny and warm day allows the panels to unfurl. Flipping panels over will quicken the flattening process.
If there are panels that need cut to size, a black sharpie marker and a box knife are your best friends. Any marks left over can be easily removed with rubbing alcohol and cotton balls.

Caulking Panels Before Applying to Frame
Solexx recommended sealing both panel ends before installing for increased insulation properties. Before applying caulk, cut panels to size. Cutting a ‘V’ shape in the caulking gun’s tip allows the caulk to flow into the channels. The deeper you can force the caulk into the channels, the better the caulk will adhere. A steady supply of plastic gloves will protect your skin from absorbing the silicone.
Install the panels after the caulk has completely dried. We did not have good luck with the caulk staying inside the channels. Another approach we tried was green greenhouse tape over the channels where the caulk ripped out on its own accord. The tape has lost its stickiness and is beginning to peel. If I had to do it over again, I would avoid this step altogether as it was tedious and time consuming.

Fine Tuning

Once panels are installed, finesse the panels to fit to the frames so they seal properly. The Solexx panels carve easily using a standard box knife equipped with a sharp blade.
Nuts and Bolts

A cordless drill with ¾” self-drilling metal screws is the quickest way to attach the panels firmly into the greenhouse frame. Take care not to push the screw into the panel too tightly as the panel will bow inwards at the entry site. The cordless drill can be reversed to pull back on the pressure. The screws should sit flat and snugly against the panels. One person that can “hold” panels while another is attaching to frame will quicken the installation process.
Installing Roof and Panels
Depending on the size of your greenhouse walls, you may need to overlap sections. Using the self-drilling screws on overlapped sections works well.

For the 8’ side walls, we did not employ the 4’ H-Channeling to secure the panels together. If you choose not to join the panels with H-Channel panels, there will be more air flow which is not as energy efficient.
For the finishing touch, apply 1″ U-trim applied to the roof edges. The trim caps the channels from getting water and mold inside.
The Finished Product
The process of recovering a pre-existing greenhouse frame can be accomplished in one day with two people.

Winter 2008 put the greenhouse through its first weather test. Within 24 hours, over 14″ of snow and ice covered the greenhouse. Temperatures dipped below 20 degrees. Frost cloth sufficiently protected tender tropicals through the arctic blast.
Springtime will bring the addition of base vents and other upgrades.
I will be adding white spray painted rocks around the outside of the greenhouse to add more light reflection properties.
Stay tuned to this blog for tips, tricks, trials and tribulations as we change our 6’x8’ aluminum frame into a functional greenhouse with electricity, water, fans and much more.
One response to “How To Install Solexx Panels On Aluminum Frame Greenhouses: A Comprehensive Tutorial”
•
Caulking the panels is SO important! I would NOT suggest skipping this step all together. I know it can seem like a pain but the payoff is worth it in my opinion. Using Industrial Strength Silicone Caulking adheres better and you will have less “rip out”, if any at all. If you skip this step, you are going to lose most of the Solexx insulation value.